> For the complete documentation index, see [llms.txt](https://chainide.gitbook.io/chainide-chinese/llms.txt). Markdown versions of documentation pages are available by appending `.md` to page URLs; this page is available as [Markdown](https://chainide.gitbook.io/chainide-chinese/chainide/12.-astar-ide/1.-astar-ide-huan-jing-pei-zhi.md).
# 1. Astar IDE 环境配置
创建项目,钱包配置和获取测试代币
## 1. 新建 Astar 项目
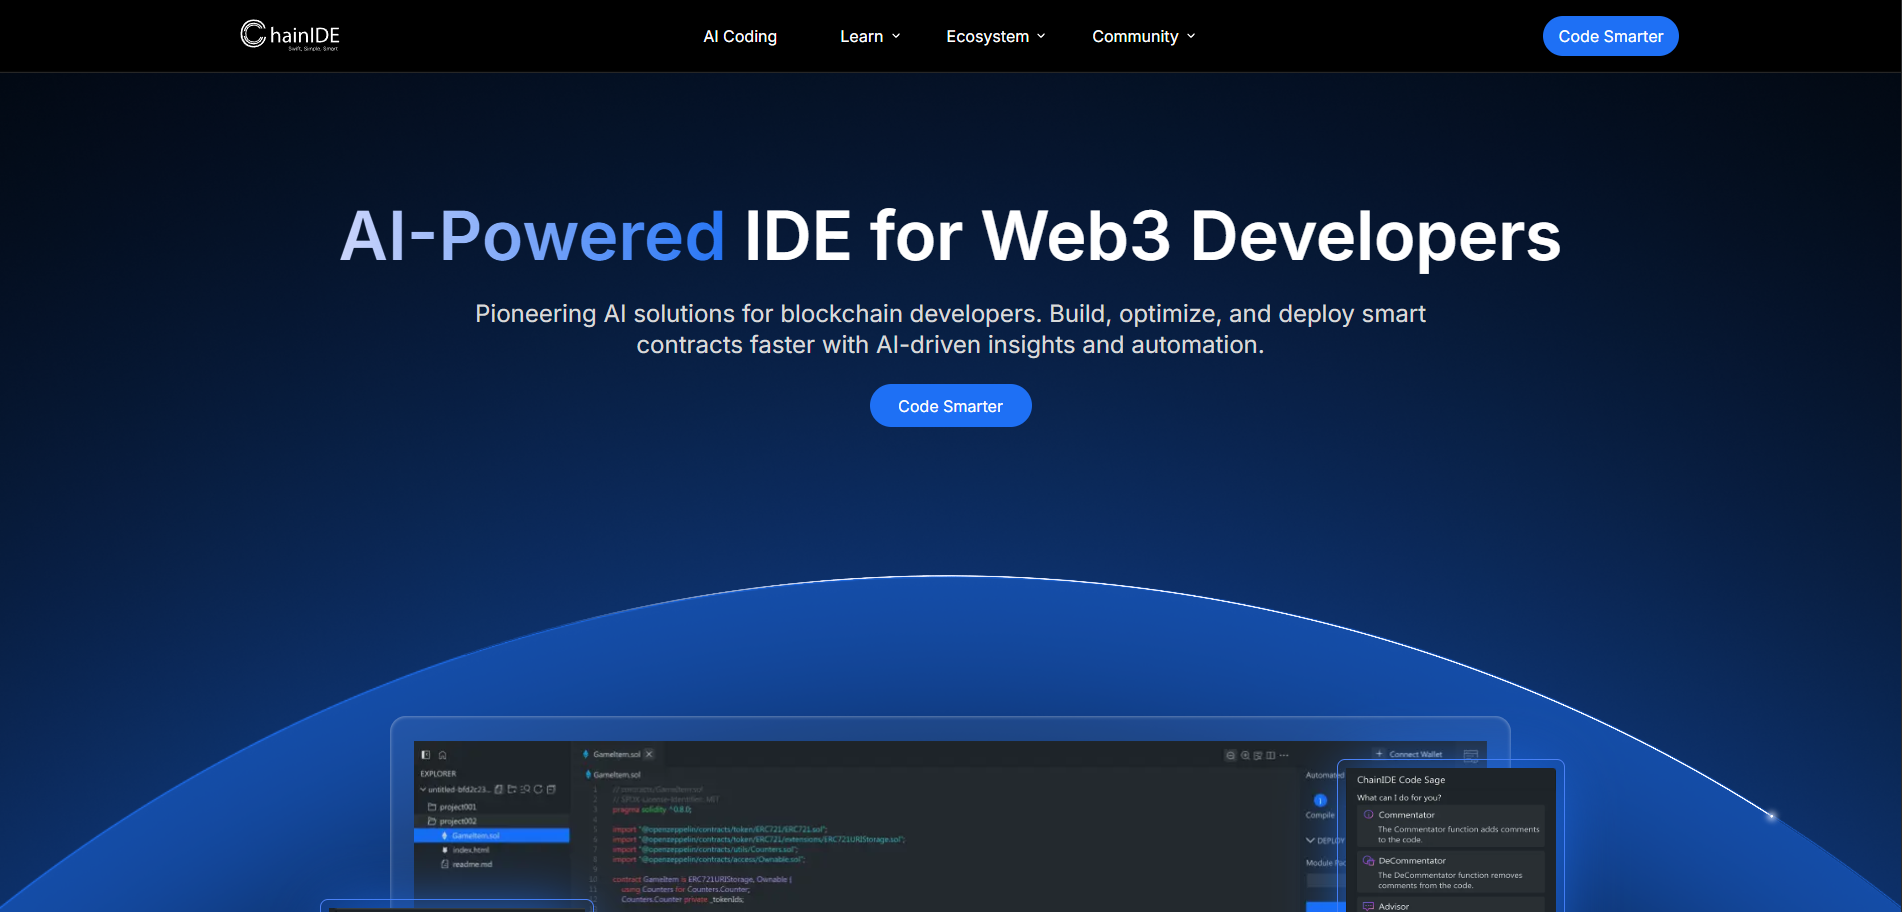
首先进入 [ChainIDE](https://chainide.com/) 的入口页面,点击 Code Smarter。
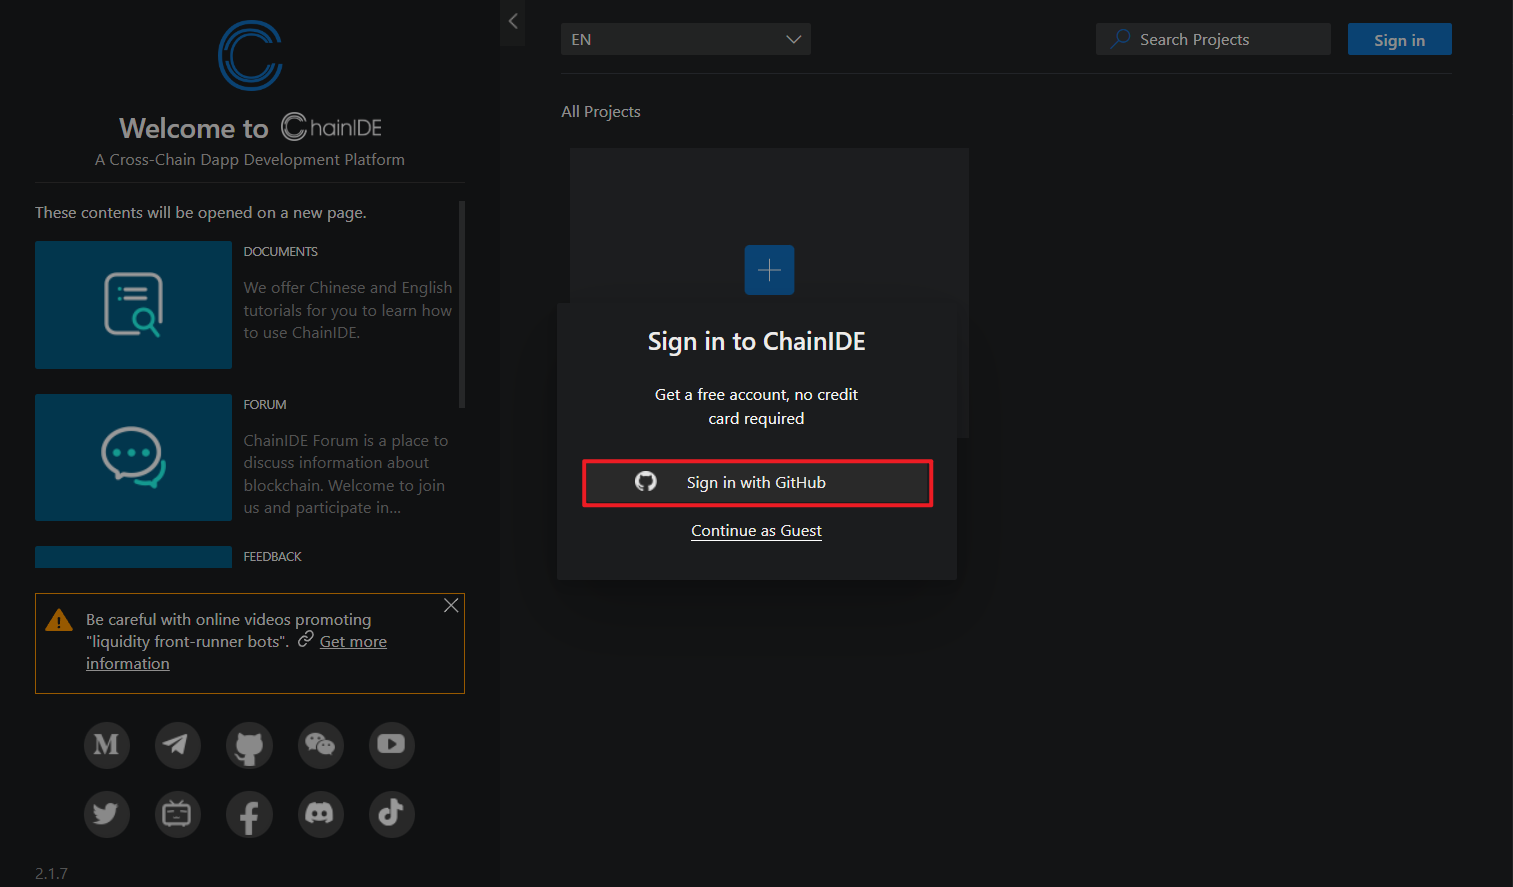
 这里会选择你的登录方式,有 Github 和 Guest 两种。教程中选择 GIthub 登录,因为后面 Sandbox 的使用必须是采用 GIthub 登录的用户才能使用。
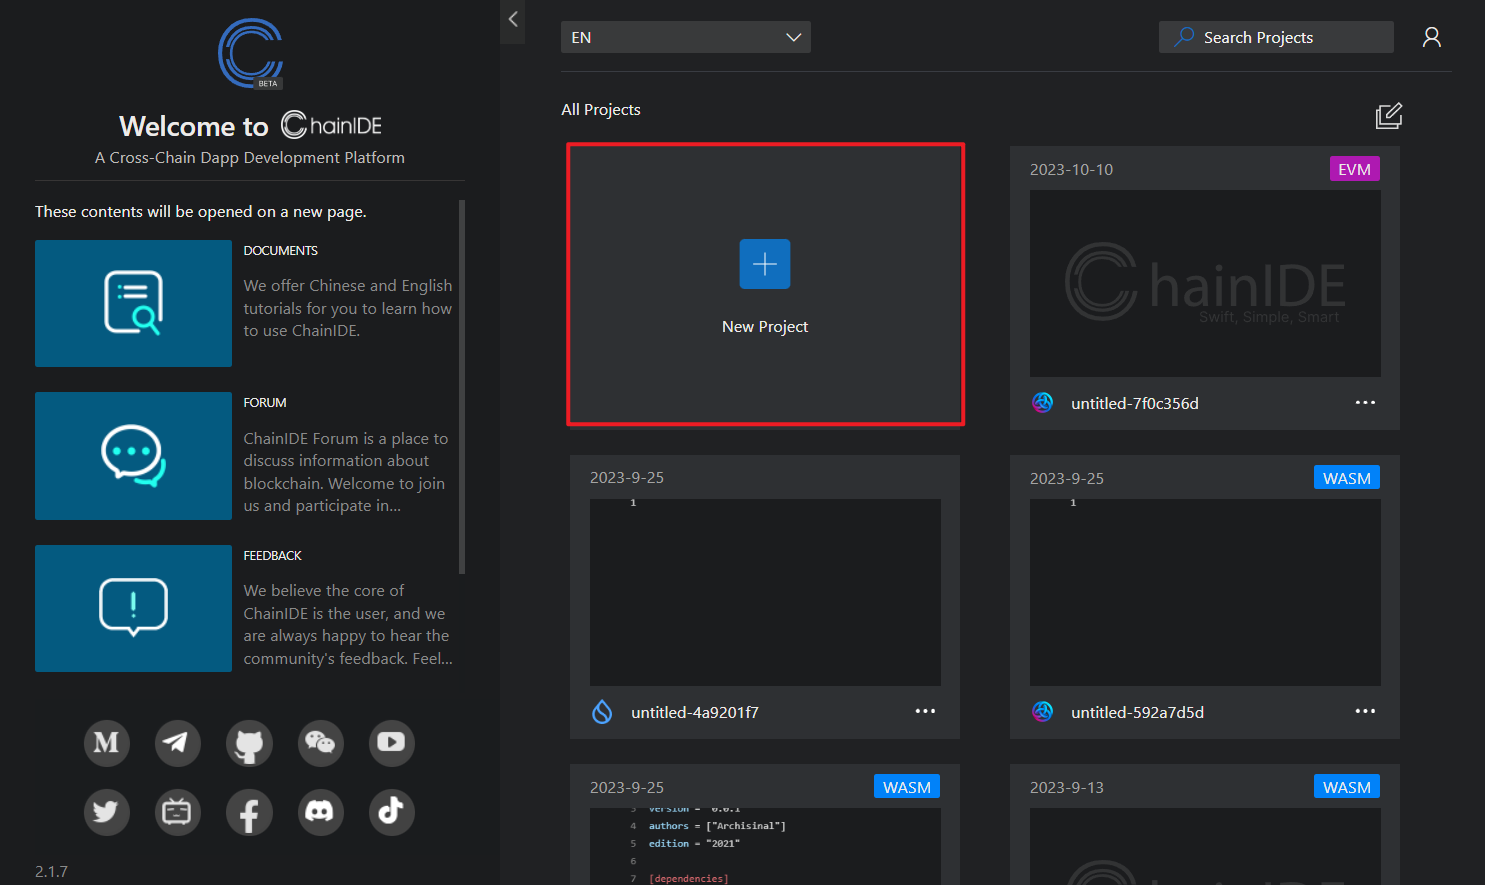
 点击 New Project 按钮。
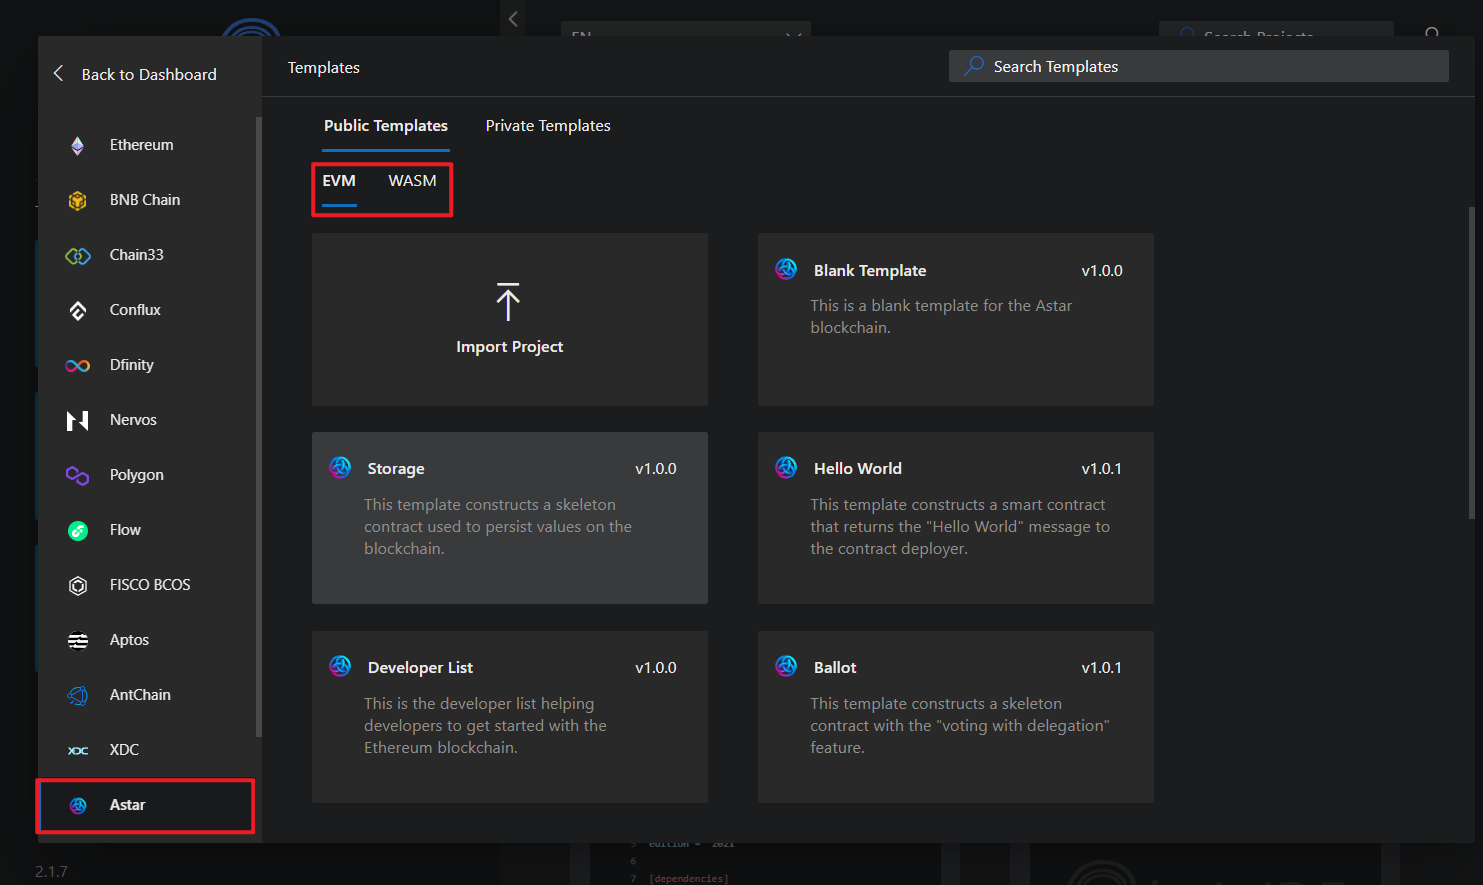
 出现一个弹窗,在弹窗的左侧选择 Astar,右侧先选择对应的智能合约环境 (EVM 或 WASN),再点击一个项目模板创建项目。
 ## 2. 配置钱包
Astar IDE 提供了对 EVM, WASM 两种智能合约的环境支持。 EVM 支持 Metamask 钱包; WASM 支持 Polkadot Wallet, Sub Wallet, Math Wallet, Talisman Walletc 四种钱包。
### 2.1 支持 EVM 的钱包
#### 2.1.1 Metamask (推荐)
>
### 2.2 支持 WASM 的钱包
#### 2.2.2 Polkadot Wallet (推荐)
>
#### 2.2.3 Sub Wallet
>
#### 2.2.4 Math Wallet
>
#### 2.2.5 Talisman Wallet
>
## 3. 获取测试代币
水龙头是获取测试代币的地方。水龙头对所有的 Shibuya 账户以及空的 Astar 和 Shiden 账户都可用。请使用它们确保您的钱包拥有足够的代币来支付部署和交易费用。
测试代币获取教程:
## 2. 配置钱包
Astar IDE 提供了对 EVM, WASM 两种智能合约的环境支持。 EVM 支持 Metamask 钱包; WASM 支持 Polkadot Wallet, Sub Wallet, Math Wallet, Talisman Walletc 四种钱包。
### 2.1 支持 EVM 的钱包
#### 2.1.1 Metamask (推荐)
>
### 2.2 支持 WASM 的钱包
#### 2.2.2 Polkadot Wallet (推荐)
>
#### 2.2.3 Sub Wallet
>
#### 2.2.4 Math Wallet
>
#### 2.2.5 Talisman Wallet
>
## 3. 获取测试代币
水龙头是获取测试代币的地方。水龙头对所有的 Shibuya 账户以及空的 Astar 和 Shiden 账户都可用。请使用它们确保您的钱包拥有足够的代币来支付部署和交易费用。
测试代币获取教程: