> For the complete documentation index, see [llms.txt](https://chainide.gitbook.io/chainide-english-1/llms.txt). Markdown versions of documentation pages are available by appending `.md` to page URLs; this page is available as [Markdown](https://chainide.gitbook.io/chainide-english-1/ethereum-ide-1/13.-irisnet-ide/1.-irisnet-environment-configuration.md).
# 1. IRISnet Environment Configuration
This section provides a detailed explanation of the environment configuration for IRISnet IDE, which is essential for developing dApps on the IRISnet blockchain.
## 1. Create a new IRISnet Project
Visit [ChainIDE](https://chainide.com/) and click the "Code Smarter" button on the front page as shown in the figure below.
Here, you will choose your login method, which includes two options: GitHub and Guest. For this tutorial, select GitHub login, as later on, the use of the Sandbox requires users to log in with GitHub.
Click the "New Project" button.
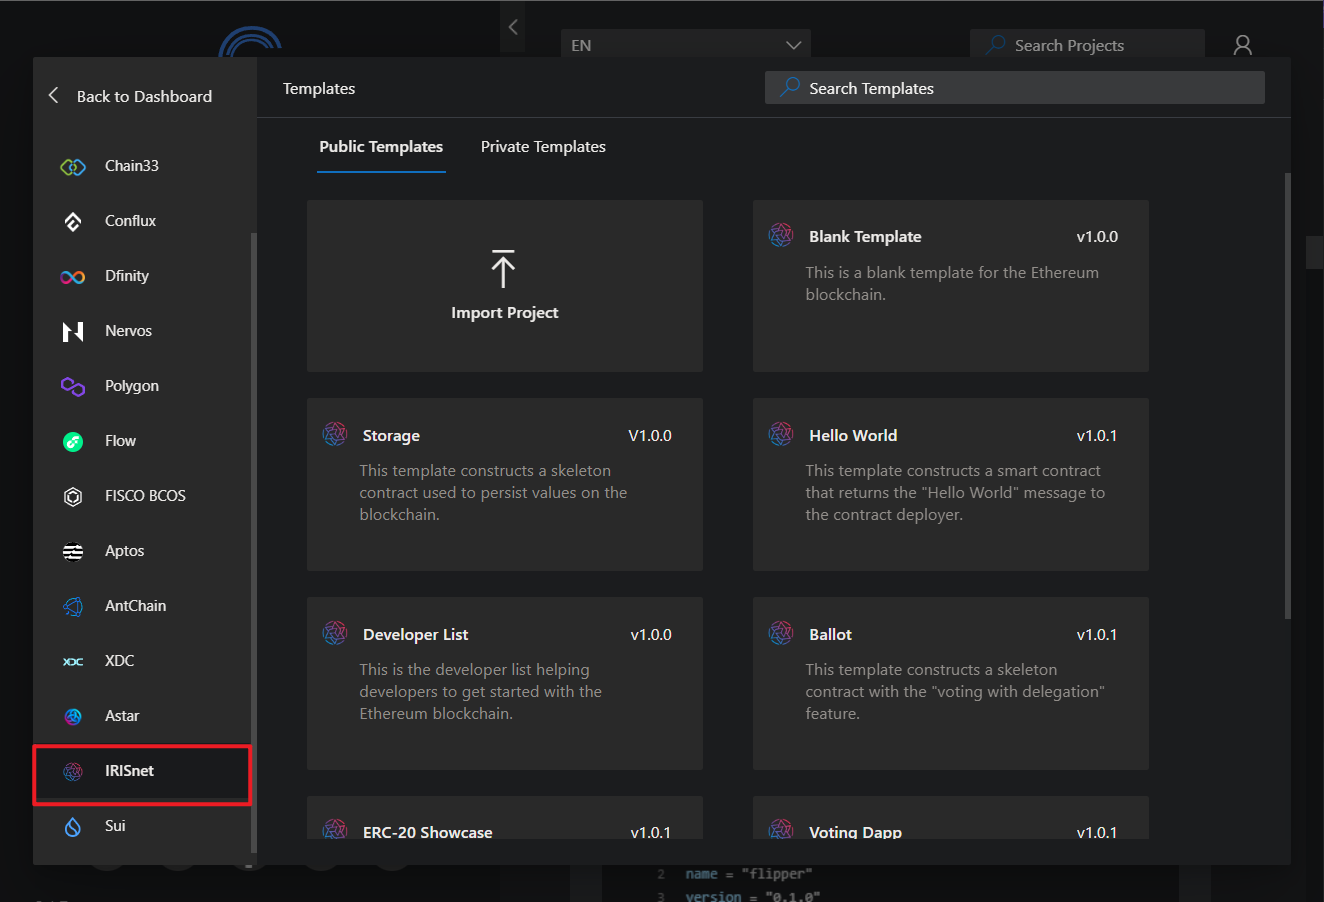
A pop-up window will appear. On the left side of the pop-up, select "IRISnet". Then, select a temple to create a new project.
## 2. Configure Wallet
IRISnet IDE provides support for two smart contract environments: EVM and Native. The EVM environment supports Metamask wallet, while the Native environment supports Kelpr wallet.
### 2.1 Supported EVM Wallet
#### 2.1.1 Metamask
>
### 2.2 Supported Cosmos Wallet
#### 2.2.1 Kelpr
>
## 3. Acquiring test tokens
Test tokens can be acquired from a tesnet faucet. Use test tokens to cover the cost of deployment, transaction fees, gas fees, etc., on the testnet.
Tutorials on Acquiring Test Tokens:
Native: \
EVM: